Introduction
As a homeowner in Matawan, NJ, you know that maintaining your home is both a responsibility and a rewarding endeavor. One of the common issues you might face is dealing with unsightly holes or dents in your drywall. Fortunately, you don't need to be a seasoned contractor to tackle these minor repairs. In this guide, we'll walk you through a beginner-friendly approach to patching drywall, helping you save money and gain valuable DIY skills.
Understanding Drywall Basics
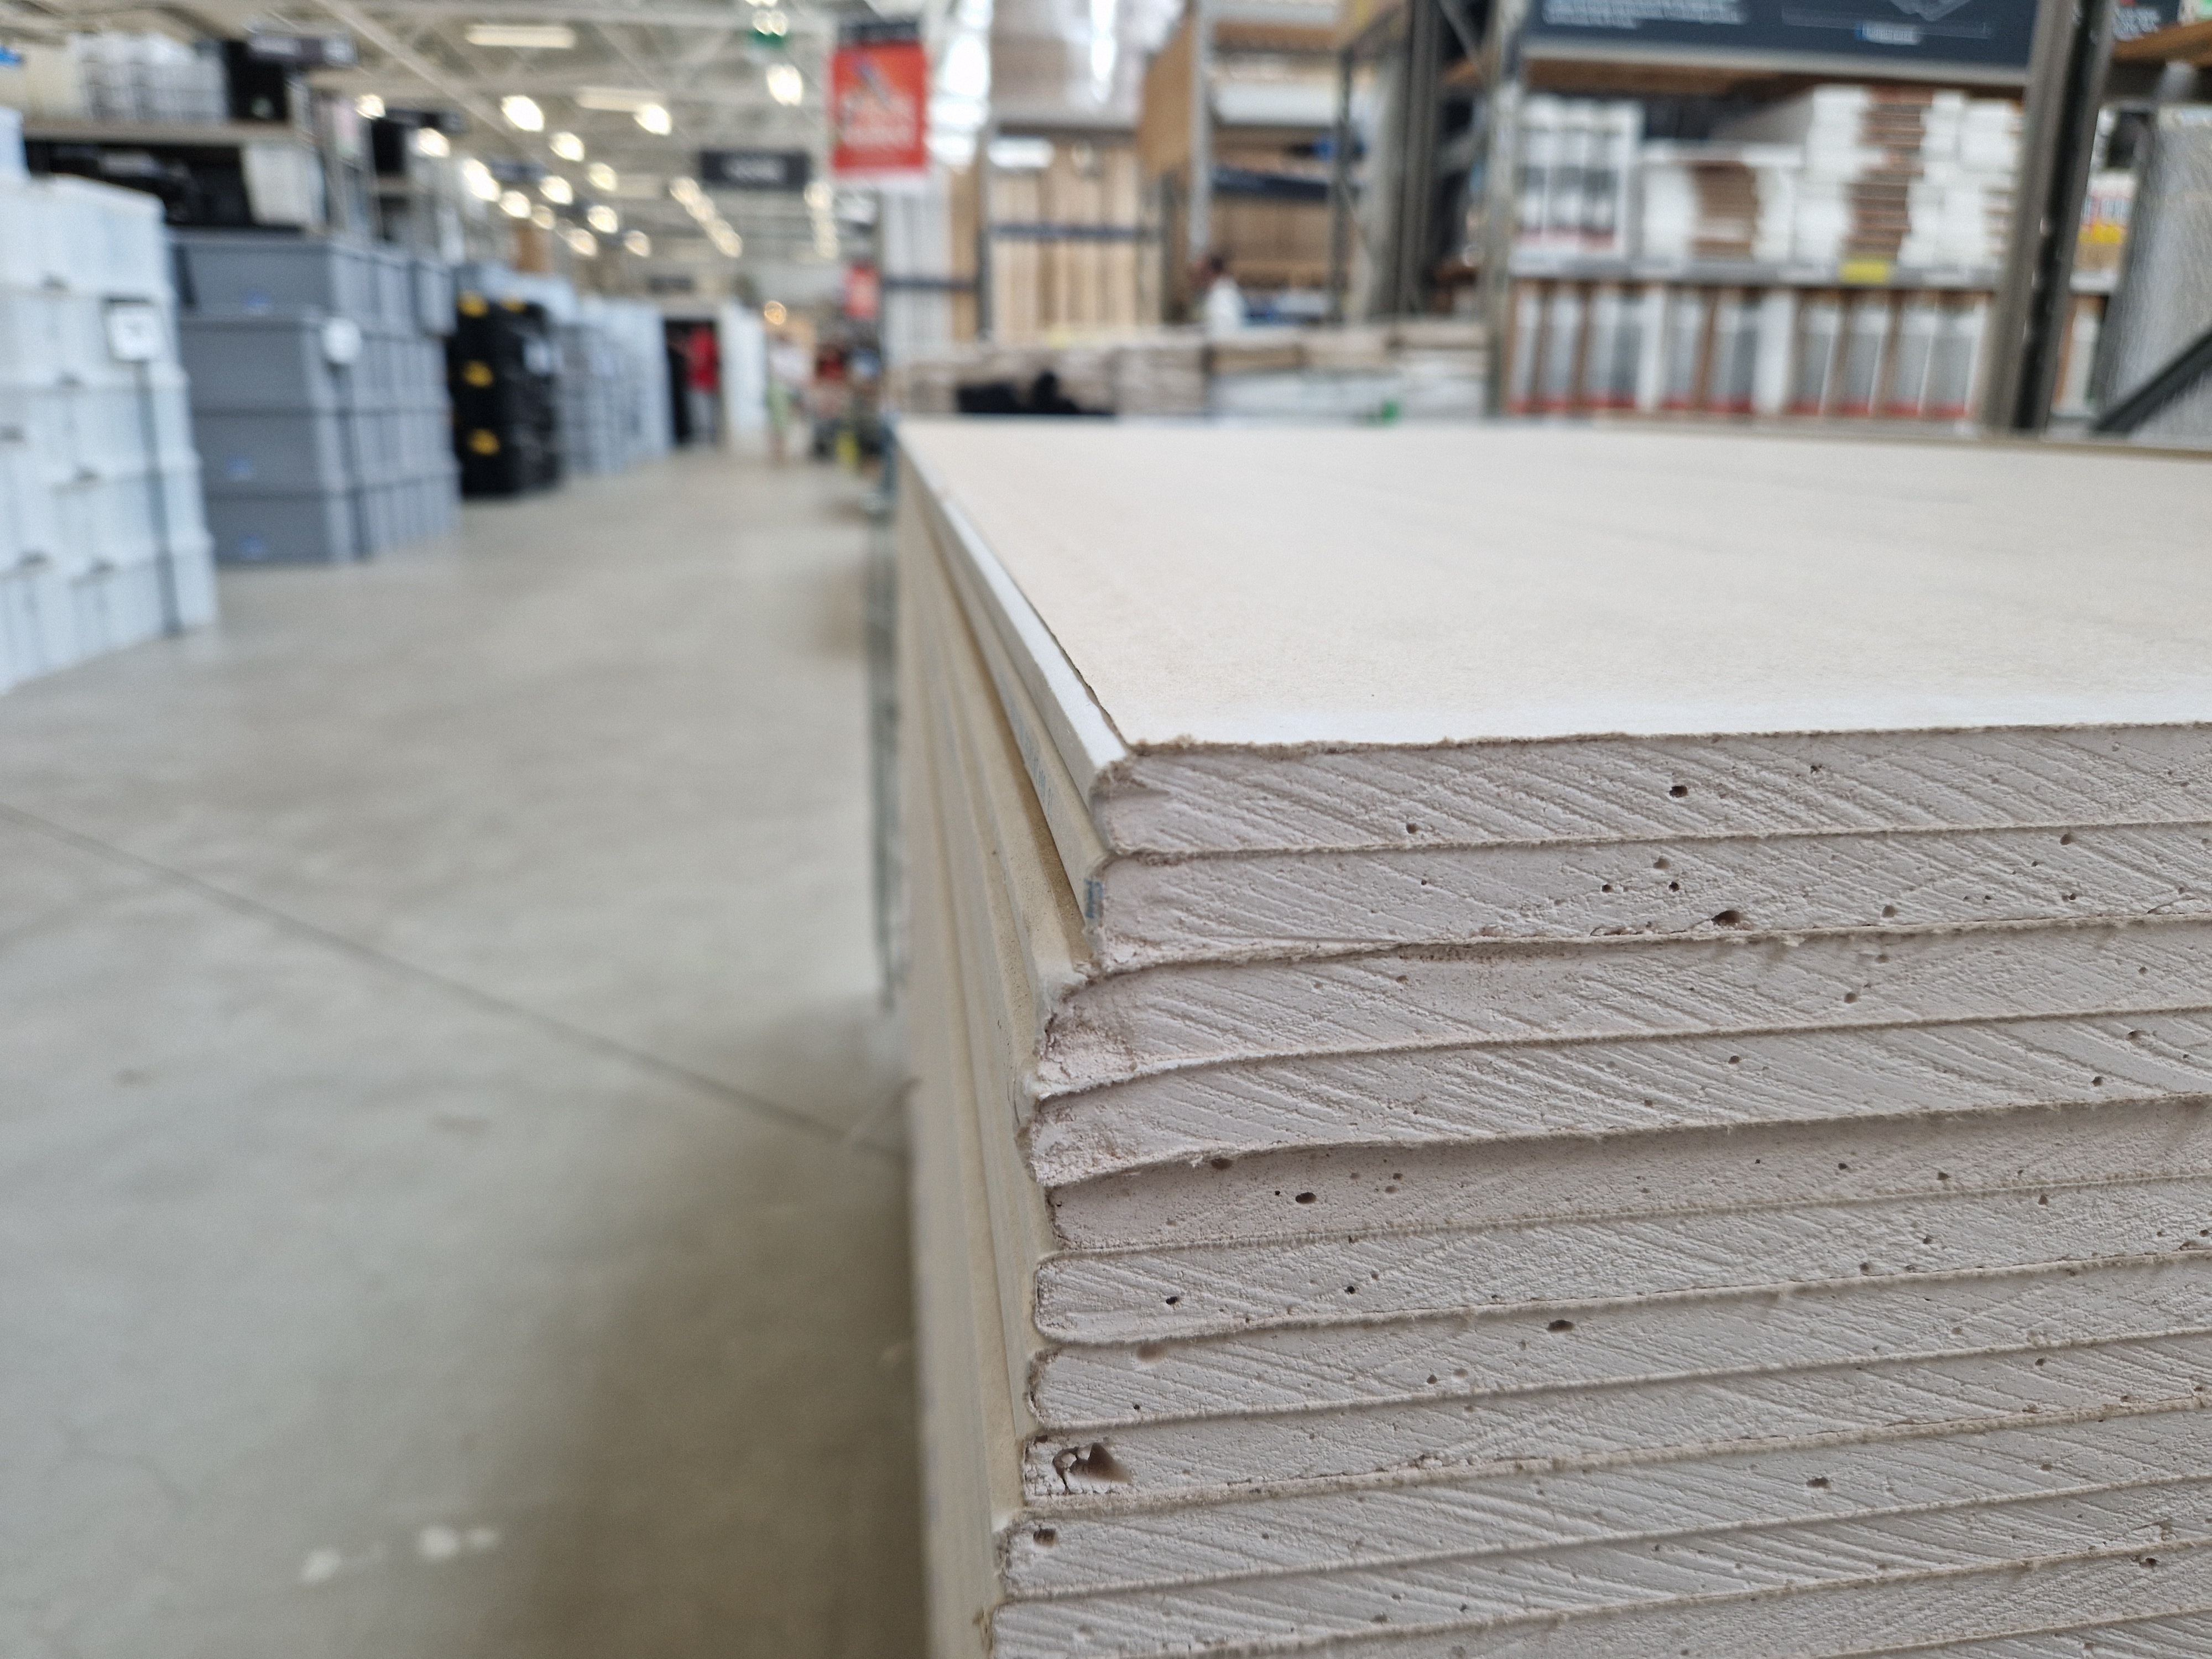
Before diving into the patching process, it's essential to understand what drywall is and why it's used. Drywall, also known as gypsum board or plasterboard, is a panel made of calcium sulfate dihydrate. It's a popular choice for interior walls and ceilings due to its affordability, ease of installation, and smooth finish.
Common Causes of Drywall Damage
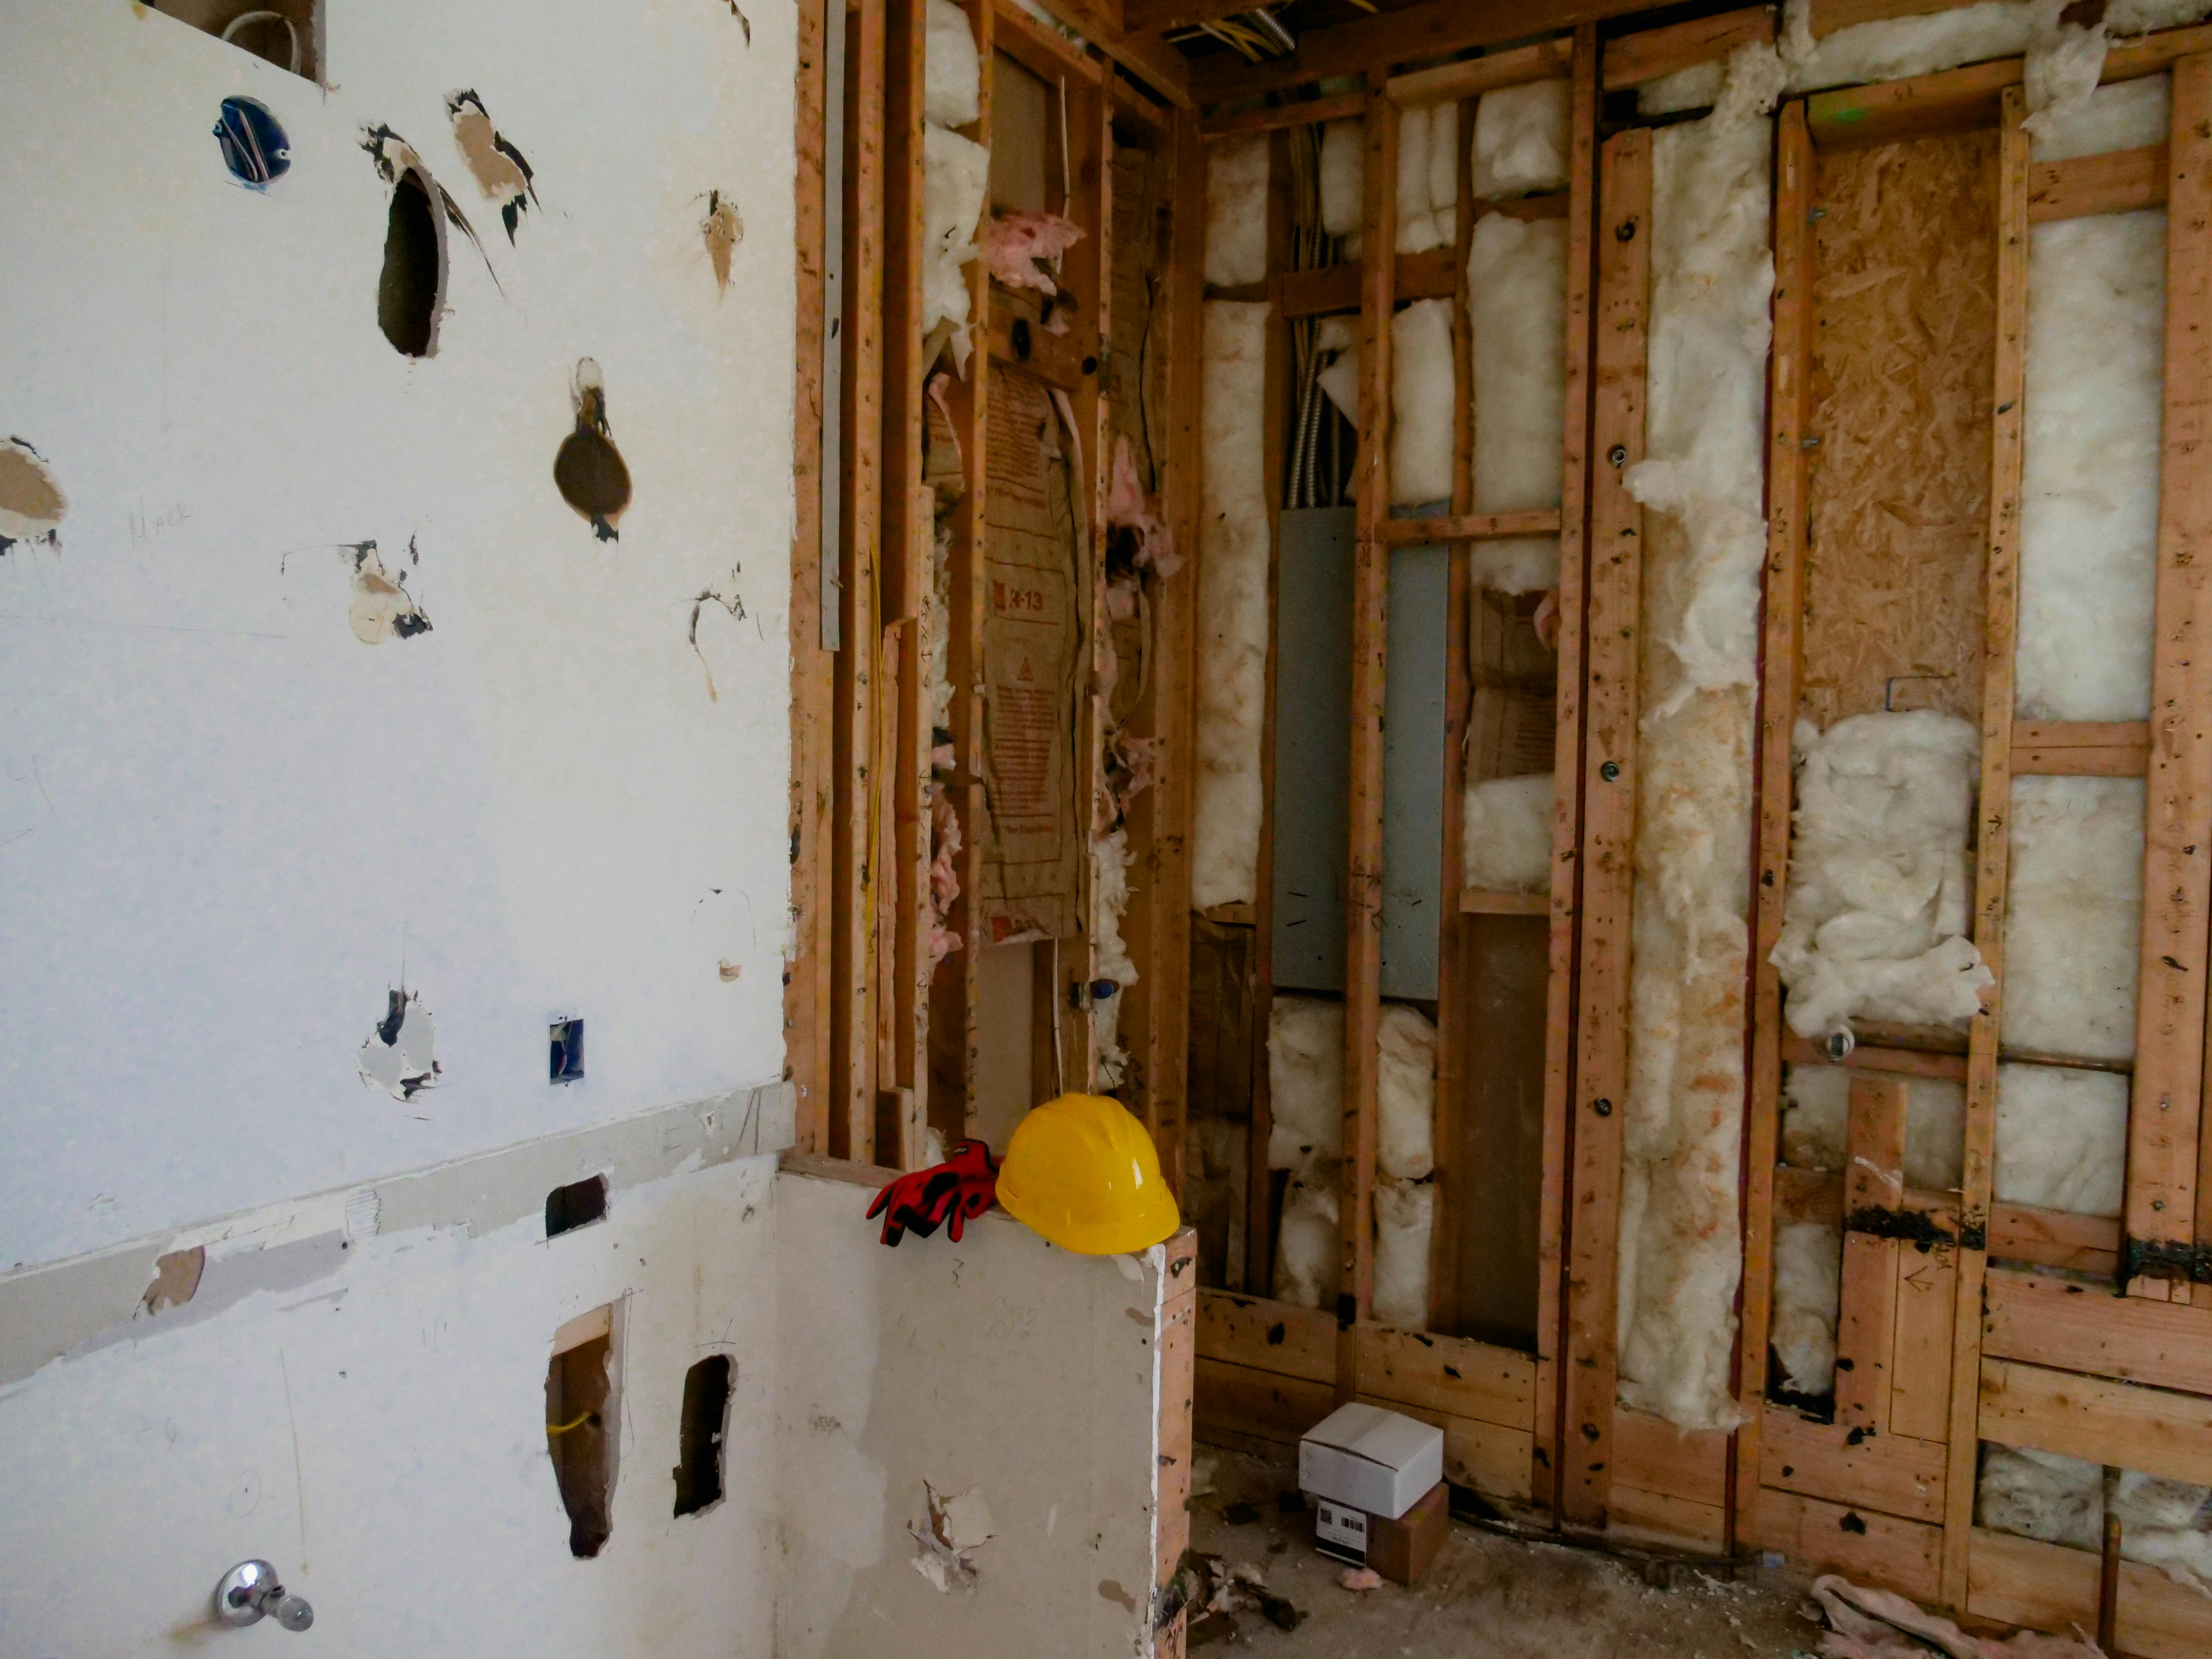
Drywall can become damaged for various reasons, including:
- Nail or Screw Holes: From hanging pictures or shelves.
- Accidental Impacts: Such as doorknobs hitting the wall.
- Moisture: Leaks or high humidity can weaken drywall.
- Structural Settling: Natural settling of a home can cause cracks.
Essential Tools and Materials
To successfully patch your drywall, gather the following tools and materials:
- Drywall Patch Kit: Includes a patch, joint compound, and putty knife.
- Sandpaper: Medium-grit (120-150) for smoothing.
- Utility Knife: For cutting and trimming patches.
- Paint and Primer: To match your existing wall color.
- Drop Cloths: To protect floors and furniture.
Step-by-Step Guide to Patching Drywall
Follow these steps to repair small to medium-sized holes in your drywall:
Step 1: Prepare the Area
Clear the area around the damage and lay down drop cloths to catch dust and debris. Use a utility knife to clean the edges of the hole, removing any loose drywall or paper.
Step 2: Apply the Patch
For small holes, use a self-adhesive patch from your drywall patch kit. Center the patch over the hole and press firmly to adhere. Ensure the edges are smooth against the wall surface.
Step 3: Apply Joint Compound
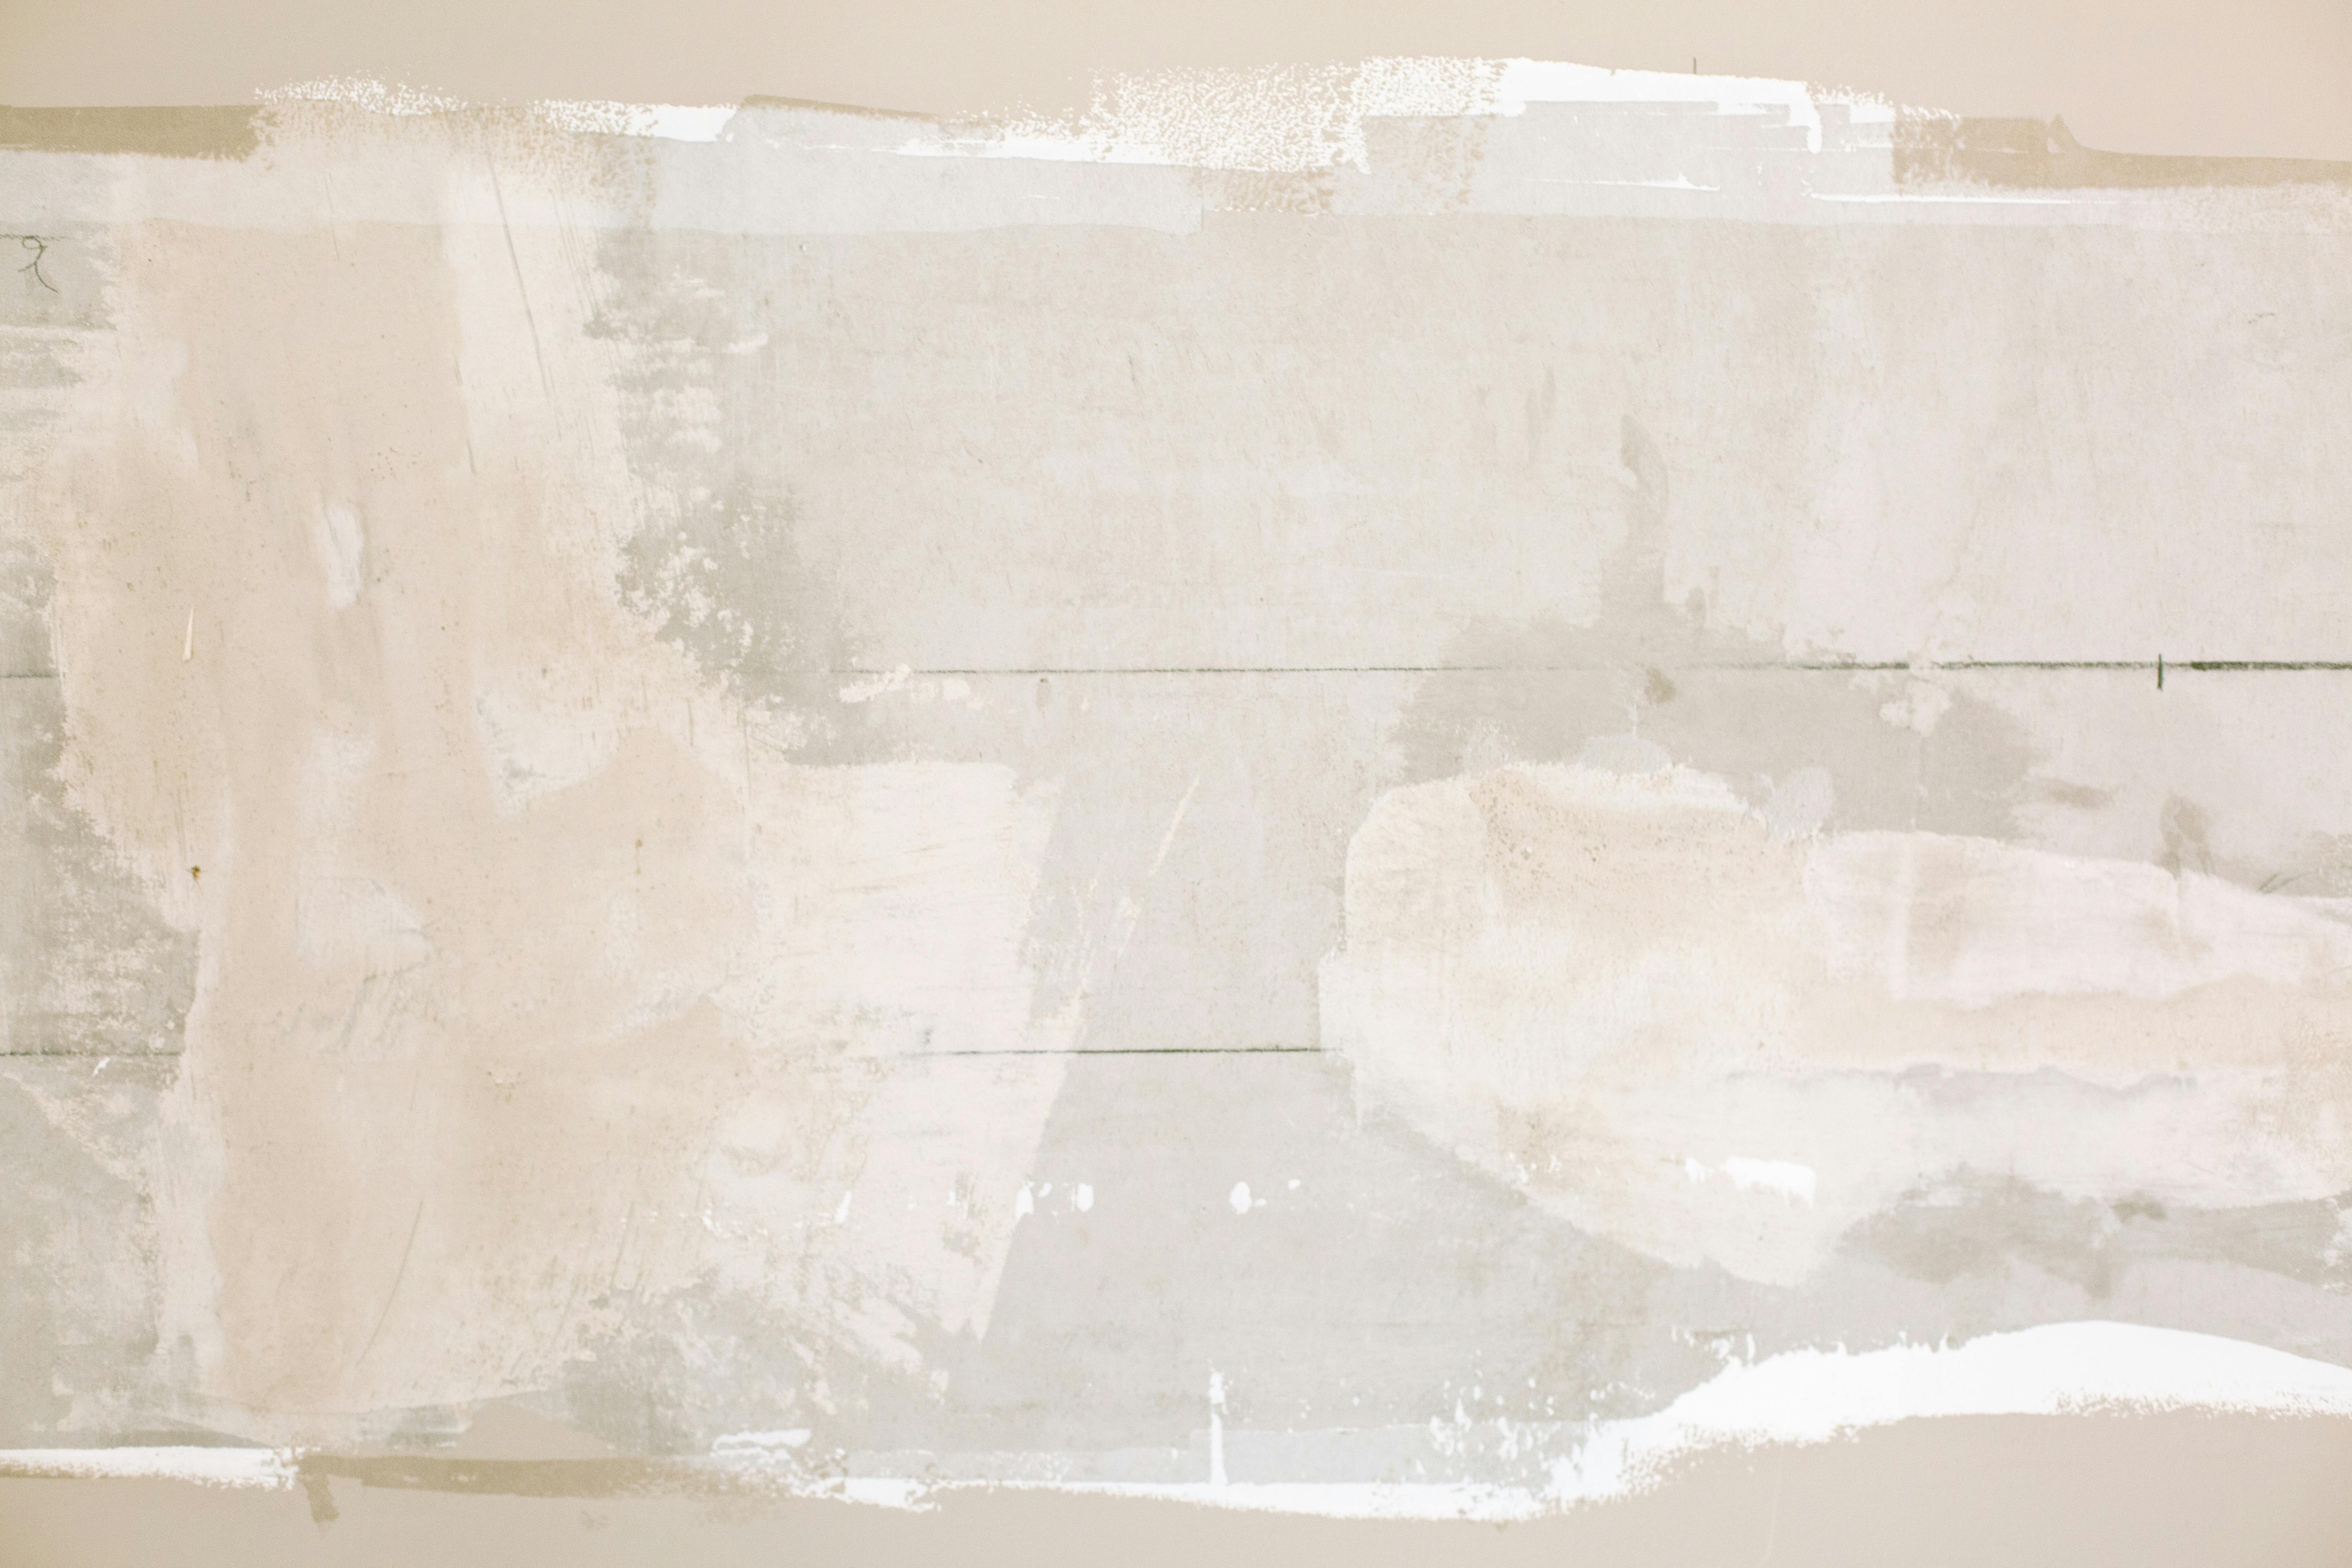
Using a putty knife, spread a thin layer of joint compound over the patch, feathering the edges to blend with the wall. Allow it to dry according to the manufacturer's instructions.
Step 4: Sand the Surface
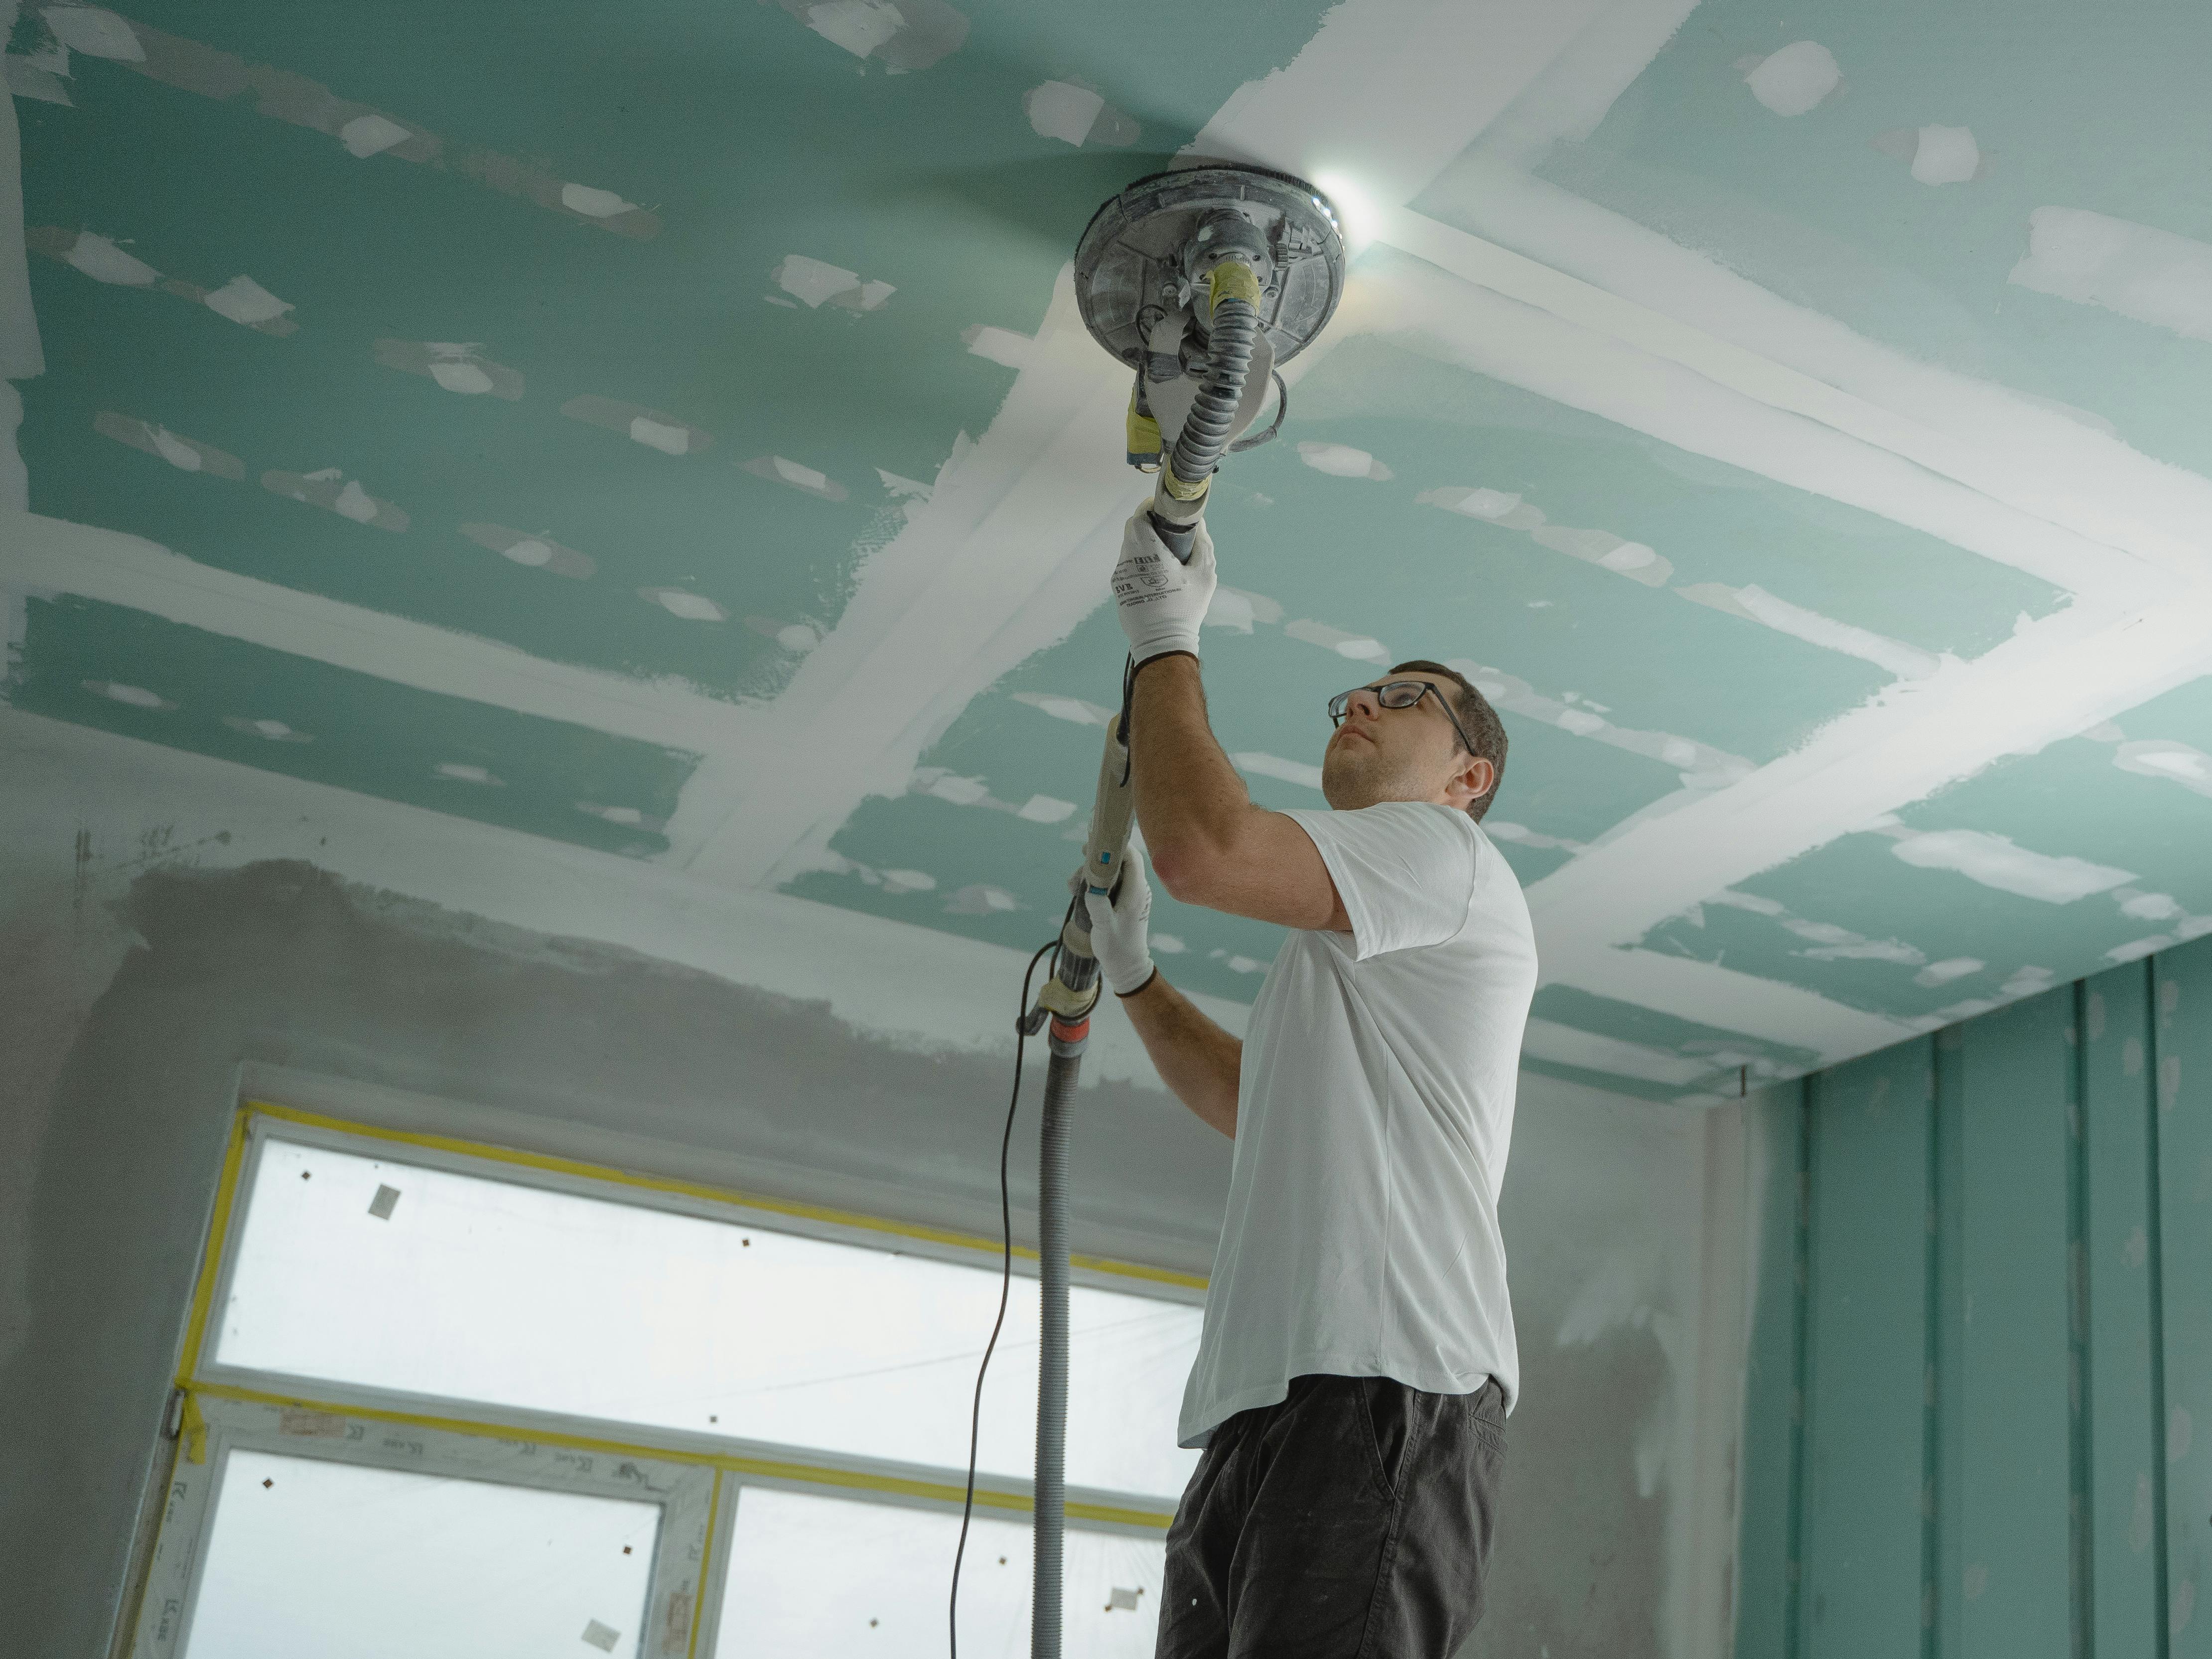
Once the compound is dry, lightly sand the area to achieve a smooth finish. Be careful not to sand too aggressively, as this can damage the surrounding drywall.
Step 5: Prime and Paint
Apply a coat of primer to the patched area, then paint to match the rest of the wall. You may need two coats of paint for even coverage.
Tips for a Professional Finish
To ensure your repair looks seamless, consider these tips:
- Match Paints: Use leftover paint from your original project, or take a sample to a store for matching.
- Feather Edges: Feathering the joint compound edges helps blend the patch with the wall.
- Use a Light Touch: When sanding, use light pressure to avoid creating indentations.
When to Call a Professional
While small repairs are manageable, consider contacting Mega Fame Drywall LLC for larger issues, such as extensive water damage or structural cracks. Our professional team is equipped to handle complex repairs efficiently and effectively, ensuring long-lasting results.
Conclusion
Patching drywall is a valuable skill that empowers Matawan homeowners to maintain their homes. By following this guide, you can confidently address minor drywall damage, enhancing your home's aesthetics and functionality. For more extensive repairs, or if you simply prefer expert assistance, don't hesitate to reach out to Mega Fame Drywall LLC. We're here to support your drywall needs with professionalism and expertise.